VNC on a OpenBSD virtual machine
OpenBSD comes with the vmm(4) hypervisor and vmd(8) daemon. It is easy to create and install an OpenBSD virtual machine on an OpenBSD workstation. For more information, see the Virtualization page in the OpenBSD FAQ.
Running one or more OpenBSD virtual machines on your OpenBSD laptop is great for testing purposes.
VNC to local vm
A graphical desktop can be useful when testing or trying out stuff. Here we are going to set up VNC on a virtual machine that gives us an XDM login window.
The virtual machine we used is running OpenBSD 7.8.
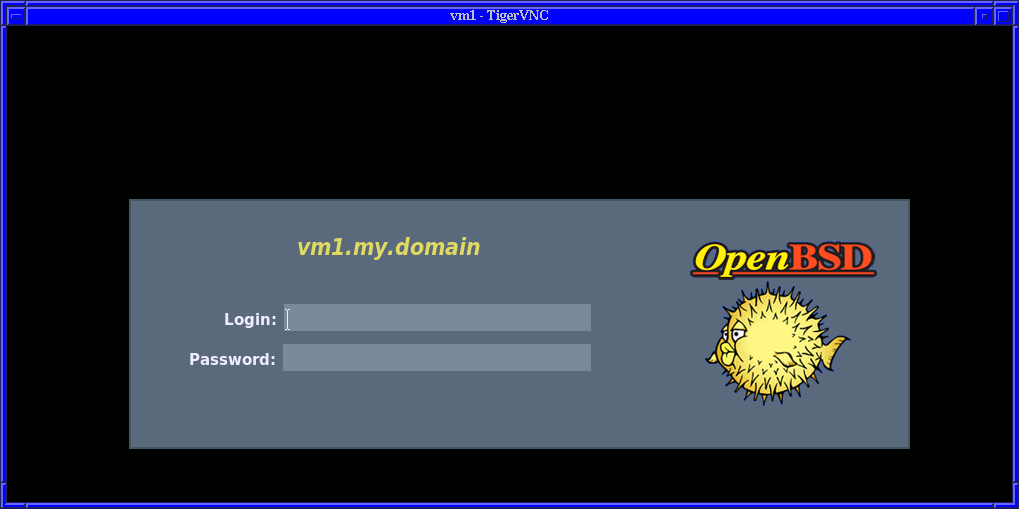
XDM login over VNC on a OpenBSD vm
Install TigerVNC
We need to install Tiger VNC on the VM for this.
doas pkg_add tigervnc
Create a VNC passwordfile
We are going to need a password file on the VM for the VNC connection.
doas vncpasswd /etc/X11/xenodm/VNCpwd
Here, /etc/X11/xenodm/VNCpwd is the file name for the file
we are going to create. Choose a path and file name to your liking.
The command vncpasswd will ask for a password and a confirmation of it.
Optionally you can also add a second password, for a read-only VNC session. We skipped this.
Edit xenodm-config
On the VM, edit the file /etc/X11/xenodm/xenodm-config.
At the bottom, add a line:
DisplayManager._1.authorize: false
Edit Xservers
Edit the file /etc/X11/xenodm/Xservers.
At the bottom, comment out the line:
:0 local /usr/X11R6/bin/X :0 vt05
And add a line:
:1 local /usr/local/bin/Xvnc :1 -geometry 1024x768 -depth 16 -desktop vm1 -Passwordfile /etc/X11/xenodm/VNCpwd
Make sure the path and file name of the password file correspondent with the password file you just created.
Enable and start xenodm
On the VM, enable and start xenodm.
doas rcctl enable xenodm
doas rcctl start xenodm
Or, if xenodm is already running, restart the service.
Connect with vncviewwer
To get vncviewer on your laptop, install tigervnc.
doas pkg_add tigervnc
Now, connect to the VNC server on the VM:
vncviewer 100.64.1.3:1
Replace 100.64.1.3 with the ip address of your VM.
Optionally encrypt traffic
Remember that the VNC protocol transports your data unecrypted. This is insecure.
We use this setup only for testing purposes, only for local VM's on our laptop, without any sensitive data..
To protect your data from eavesdropping, encrypt the connection, f.e., with an SSH-tunnel.
Virtual machines are very useful. Creating and installing an OpenBSD virtual machine on an OpenBSD laptop is easy.
Have fun!
Webrings
|
|

100% made with ♥ by a human — no cookies, no trackers.
Proud member of the 250kb.club,
the no-JS.club,
the Blogroll.Club,
and the Bukmark.Club.
Don’t let a billionaire’s algorithm control what you read — use an RSS feed reader.
Most recent pages All tags Sitemap RSS of Gophersite