Install 9front in vm-bhyve on FreeBSD
9front
9front (or plan9front) is a fork of the Plan 9 from Bell Labs operating system.
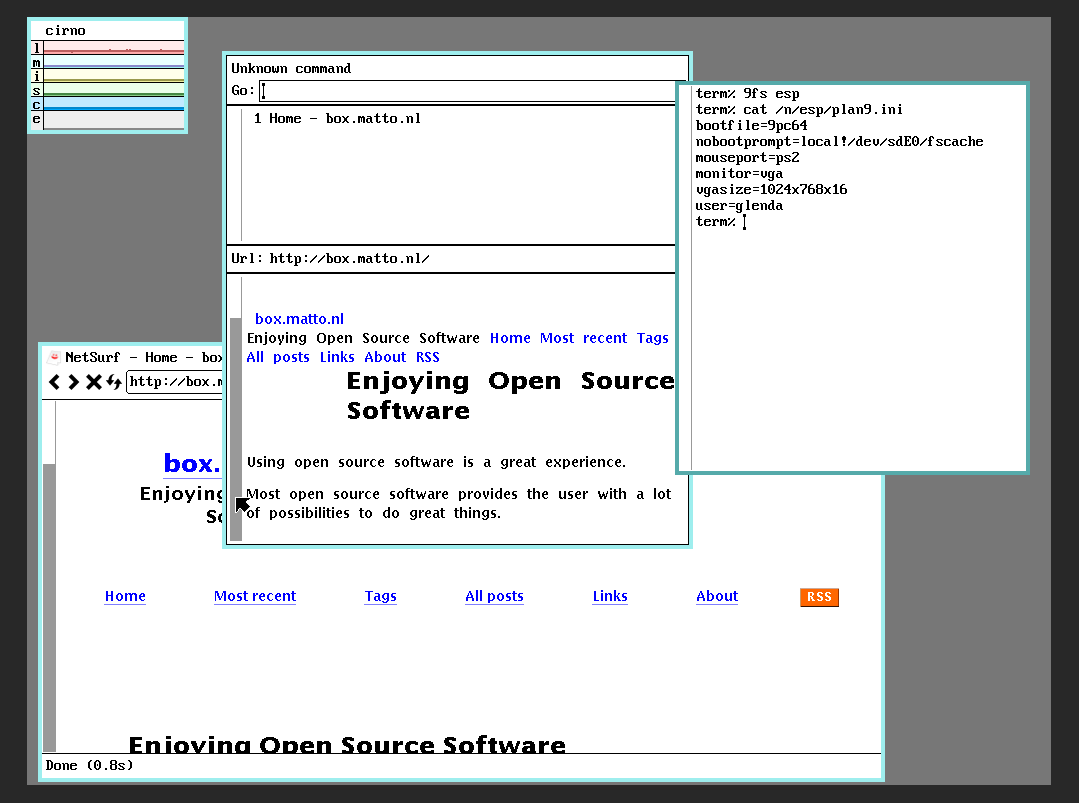
9front with Mothra and Netsurf
vm-bhyve
FreeBSD vm-bhyve is a great tool to create, install and manage virtual machines.
vm-bhyve is designed to work with ZFS, which makes it very easy to create new vm's, and make ZFS snapshots of those.
Virtual machines can either run with or without a graphical desktop. For machines running without a graphical desktop we use SSH.
The FreeBSD bhyve hypervisor provides VNC access to the virtual machines that boot with UEFI. Expose the VNC port to the network to allow for remote management.
9front on bhyve using vm-bhyve
This is how I got 9front installed and booting after the install.
I have exactly zero experience with 9front or plan9. so maybe there are better ways.
Download install iso
An install iso can be downloaded from 9front.org.
I downloaded 9front-11321.amd64.iso.
Installation
We don't use the normal way to install an operating system on a VM
with vm-bhyve (vm install vm-name iso-name). This is because
vm-bhyve removes the CD-ROM from the VM at the first reboot after
this command.
We follow a slightly different way:
Create a new virtual machine:
vm create -t dragonfly 9frontvm
We choose the dragonfly template because is comes with UEFI and VNC support.
Add lines for the CD-ROM
Add the following lines to the configuration of the VM (the file /bhyve/9frontvm/9frontvm.conf):
disk1_type="ahci-cd"
disk1_dev="custom"
disk1_name="/bhyve/.iso/9front-11321.amd64.iso"
Start the installation:
vm start 9frontvm
Now open your VNC viewer to the VM.
From here you can follow the installation guide. The installation window doesn't show a cursor. just trust that you are indeed typing at the prompt.
Just accept the default values.
- At the bootargs just hit Enter.
- After selecting
1024x768x16for thevgasize(just hit Enter) I had to selectvgaas monitor.
After accepting the default for the mouse port a graphical desktop is started.
In the terminal, issue the command inst/start.
Again, accept the default values.
- Disk to partition:
sdE0. - Install mbr or gpt:
gpt. - Use esp as 9fat:
yes.
At the configuration of the network I did choose manual.
This gives the option to enter ip address, netmask, gateway and DNS.
- Distribution disk:
/dev/sdF0/data.
The list with options for the timezone for Europe is smaller than usual.
Time Zone: CET.
After the reboot, use the bootargs local!/dev/sdE0/fscache.
Prepare for easy boot
Next, we are going to edit 9plan.ini in the 9front terminal.
9fs esp
cd /n/esp
ed plan9.ini
There are more options beside ed to edit the file, f.e., use the acme editor.
Change the bootargs line to:
nobootprompt=local!/dev/sdE0/fscache
And add a line:
user=glenda
Save the changes, and check with cat plan9.ini.
If all is well, reboot (see below).
Now it will boot without the need to hit Enter and it will directly go into Rio (the graphical desktop).
Shutdown
Shut down the virtual machine by issuing the command fshalt in
a 9front terminal, or use fshalt -r to reboot..
Desktop resolution
As 1024x768 is quite cramped, I changed the resolution to 1200x720.
First, I changed the line in plan9.ini:
vgasize=1200x720x16
Next, I added a line to the configuration of the VM:
graphics_res="1200x720"
Remote access using drawterm
VNC on bhyve is not the best experience. The mouse often requires some persuation to before reachting the edges of the frame, and it is not fast.
Drawterm solves this all.
I followed this turorial to allow for remote access using drawterm.
To get the latest version, get drawterm from drawterm.9front.org.
Resources
- wiki.9front.org/freebsd-bhyve
- Plan 9 desktop guide
- Setting up 9front an a Raspberry Pi with useful information, not only for Raspberry Pi.
Thanks
Thanks to Tom for the provided help, inspiration and useful links!
Have fun with 9front!
Updates
- 2025-01-01: added section on remote access with drawterm.
Webrings
|
|

100% made with ♥ by a human — no cookies, no trackers.
Proud member of the 250kb.club,
the no-JS.club,
the Blogroll.Club,
and the Bukmark.Club.
Don’t let a billionaire’s algorithm control what you read — use an RSS feed reader.
Most recent pages All tags Sitemap RSS of Gophersite